Log in
Build Your Site
12 Essential Steps of the Design UX Process to Follow
This blog will take you through the flow of the design UX lifecycle, you will be able to see what needs to be achieved at each stage of the whole process.

Have you ever been angry with a website or an app because you could not easily find the information that you wanted? Perhaps you could not get what you were searching for, or the page simply takes too long to load. You're not alone. This is why it is crucial to comprehend and thus apply a clear and coherent UX (user experience) design procedure. Whether you’re new and don’t know how to design and understand what user-friendly means or you need advice to make your design even better, you are in the right place.

Here, I will take you through the flow of the design UX lifecycle and for each step, you will be able to see what needs to be achieved at each stage. Following these steps will ensure that the products you develop align with the functionality users of the products desire, and the beauty of the product will also be magnified. It’s either your first time or you want to sharpen your skills, these steps would help fill the gap between the time when you are confused and the time when it turns out to be crystal clear, that your design does match up and go a notch higher than the users’ expectations.
Converting an idea into an interface requires a logical process carried out in several stages of UI/UX design. These steps may differ depending on the project but generally include:
-
Understand the User
-
Define the Problem
-
Conduct Market Research
-
Craft Detailed User Personas & Narratives
-
Conduct Thorough Competitive Analysis
-
Design the Blueprint
-
Create Effective Wireframes and Prototypes
-
Perform Comprehensive Usability Testing
-
Prepare for Launch
-
Refine Through User Feedback
-
Bring Your UX Design to Life
-
Continuously Monitor and Improve
It is a principle behind the design of products that focuses on user satisfaction through effectively gauging the users’ needs. Introducing strictly into the purchasing of a website or an application or into the Improvement of a digital service guarantees the result possessing certain qualities. Below is the complete guideline for the 12 classic design UX steps to consider. Here's a comprehensive guide on the 12 essential steps of the design UX process to follow.
Step1: Understand the User
Developing a product that would embody the essence involves first knowing your users. This entails user studies to ensure a deeper understanding of the users of your products or solutions. There is a need to go deeper into features like demographic information, activities, requirements, and concerns. From effective research, it will be easy to ensure that the design serves the users as expected and will effectively solve their problems.
The first step must involve the discovery of the users by conducting a demographic analysis. These are age, gender, income, education level and geographical location of the consumers are some ways. Information of this nature can prove helpful in categorizing the users and making the user interface even more unique. For example, a product aimed at teenagers will have different design considerations compared to one aimed at professionals in their 30s.
Next, explore user behaviors. This entails efforts to learn about the behaviour of users with products or services that are similar to the offerings of the business. This is particularly so when it comes to observational studies where you observe the users in the analysis of the product. You can also carry a study into the usage data and determine the frequently used and the least used features. This in particular helps in directing your design to aspects that are priorities within the user’s interfaces.
Then, identify the needs of the targeted users and their pain. As you can imagine, such activity could be more successful with the help of interviews and surveys. Use general questions to help define the difficulty of the end-users and their expectations of the product that is being developed. For instance, if your focus is a task management app, you might find that people have difficulty with time management, especially with deadlines and priorities. With this information, it is possible to embed such aspects as deadlines and priority indicators that would directly tackle these problems.
However, there are also advantages in focus groups. It is possible to invite the users and assist them in sharing their experiences and expectations in a group, which will complement the findings of interviews and/or questionnaires. It also enables observation of other clusters and how its users in a group shape their opinions towards a given matter.
If one becomes very familiar with the users, one can create a product that is easy to use, solves real problems and brings joy to users. This first step lays the foundation for the rest of the process of UX design and makes your decisions result-driven, out of the user’s needs and wants. As often stated, satisfying the user requirements and also overawing them is the ultimate aim of business.
Using platforms such as Zoom and Google Meet requires recording to directly engage your audience. To streamline your workflow, utilize Miro, Figma, or Mural for brainstorming and analysis.
Step2: Define the Problem

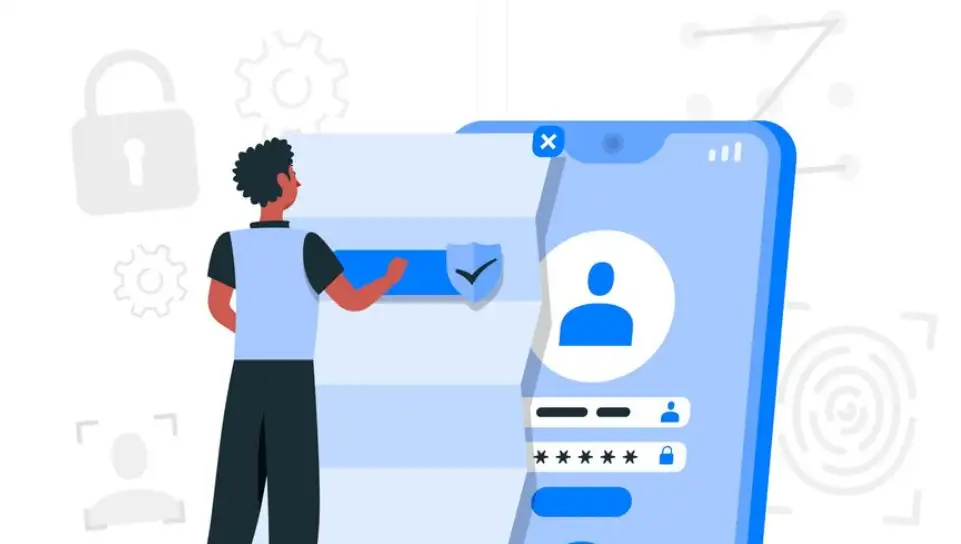
When getting to the early steps of UX design, the most vital step is to define the problem that this design is going to solve. This entails such questions as “Why such a product?” and “What specific business questions will it seek to address?”. These questions are crucial and are typically explored during stakeholder meetings, where team members collaborate to ensure that the project aligns with the company's broader business objectives.
There are several activities essential in this phase, one of which is stakeholders’ meetings. In these discussions, designers, the product manager, and other stakeholders meet to discuss and increase the collective understanding of the objectives of the project. The result is typically a tool in the form of specifications with a low-level, bare-bone papery sketch of the idea. This sketch is somewhat vague, creating the necessary conditions to design the activity, which is to follow.
A component of this step that must be succinct and specific is the selection of the problem statement. This statement is a principle that lights up the designers I have researched and the design process as a whole. It should be precise, or in other words, user-focused and based on the findings of market research. For instance, if you find out that users are having difficulty navigating your website, your problem statement could be: "The users are having trouble finding the content they need on the website." This kind of statement will help direct your design process and keep your team focused.
Increasing the specificity of the problem is beneficial in the following aspects. This feature offers direction and reduces confusion, thus meaning that all persons engaged in the project have a clear understanding of the goals to be met. It also aids in the setting of specific objectives and targets on how success is going to be achieved. This means that once you understand the problem, you are better placed to provide solutions that are not just relevant, but new resolution strategies that can effectively solve the user’s pain.
Also, a clear problem statement acts as a basis for the user research and usability testing conducted in the final steps of the process. It allows the formation of questions for the user interview and questionnaires to allow the collection of data that may be pertinent to the closure of the existing problem. This step is, therefore, not only about identifying what is to be done but also about creating the basis for a user-oriented focus that gives the highest priority to addressing users’ relevant issues efficiently.
Defining the problem involves the identification of a business problem and is done in a way that takes into account the environment that surrounds the problem, the users of the solution to the problem, and the business motivations for addressing the problem. It is more about design strategy and confirming that every action that you deploy has the right problem to be solved. This is why adopting such an approach yields the desired, functional and easy-to-use designs that achieve organisational goals as well as improve user satisfaction.
Step 3: Conduct Market Research

Dissemination is one of the first exercises in the process of designing for usability. Market research is involved in this phase, which entails compiling specific information about the market. The first of these widely employed strategies is market research, which strengthens the designer’s empathy for the product and helps them better understand its users’ needs.
Market research is important. This involves looking at competition, and studying the trends within industries, among other things; it focuses on what other products are out there in the market. With competitors, designers can identify what is already available on the market, what has not been addressed yet, and particularly where one can step in. Tools like the SWOT tool (Strengths, Weaknesses, Opportunities, Threats) can be useful when applied to a church organization during competitive analysis.
The second helpful approach is customer journey mapping. It is a way of mapping the User’s journey through the different phases of interaction with the targeted product and defining points of contact and zones of problems. Another key factor is usability testing, which is very important since it enables the designers to see how real users engage with the product and identify the problematic zones. Through such tests, designers can directly get feedback on the results with the view of having the capacity to make further improvements for the betterment of users.
Using tools such as Qualtrics for strategic market research can save time and ensure that your UX research is as accurate and useful as possible.
Step 4: Craft Detailed User Personas & Narratives
User personas are specific templates for users of your product that are developed based on serious research. These personas are useful in keeping everyone focused on the user because they give everyone leading the design process a clear picture of the people they are designing for. Every persona is described with such essential attributes as age, job activity, goals, and main concerns. For instance, one persona could be ‘Emily, a 30-year-old marketer, who has a problem identifying content in a short period.’
These personas ensure that the design team keeps the end-user in mind at every stage of the process. Understanding Emily's goals and frustrations helps designers create solutions that address real user needs, rather than assumptions.
User stories, on the other hand, describe how users will interact with your product to achieve their goals. These are concise, simple narratives written from the user's viewpoint. A common format is: "As a [user type], I want to [action] so that [outcome]." For example, "As a returning customer, I want to quickly reorder previous purchases so that I save time."
These user stories serve as a guide for the design and development team, ensuring that the product's functionality aligns with user expectations. They help prioritize features and functionalities that are most valuable to users, leading to a more intuitive and user-friendly product.
In essence, user personas and stories are crucial tools for creating a product that truly resonates with its audience. They bridge the gap between user needs and design solutions, making sure that every design decision is based on real user data and insights.
Using tools like Dscout can help you conduct online interviews, diary studies, and in-the-moment responses from users via their devices. This is ideal for younger users who are always using their phones. Another user testing platform to consider is Lookback. They specialize in moderated and unmoderated user tests.
Step 5: Conduct Thorough Competitive Analysis

These personas are used to help remind the design team of the end user throughout the design process. Knowledge about Emily sets examples of real users’ goals and frustrations that designers should consider while working instead of using assumptions.
In contrast, user stories define how a specific product can be utilized by the user and provide benefits to them. These are short, plain texts narrated from the users’ perceptions. A common format is: Starting with ‘As a [user type], I want to [action] to [outcome].’ For instance, as a returning buyer, I want to easily reorder previous purchases so that I will not take so much time.
These fictitious user profiles are useful to the design and development team to ensure that the features to be included in the product are the right ones. Mention these targets, such as useful features and functionality to focus on, are most important to the user, in turn, resulting in a better user experience of the final product.
Thus, user personas and stories are effective tools for the development of a socially meaningful product. They act as a connection between the users and designs; this means that any decision about the design of a certain product is based on the users’ data.
Competitor analysis tools such as Ahrefs for SEO, Similarweb for website traffic monitoring, and Social Blade for follower tracking can help you monitor, analyze, and learn from your competitors' strategies.
Step 6: Design the Blueprint
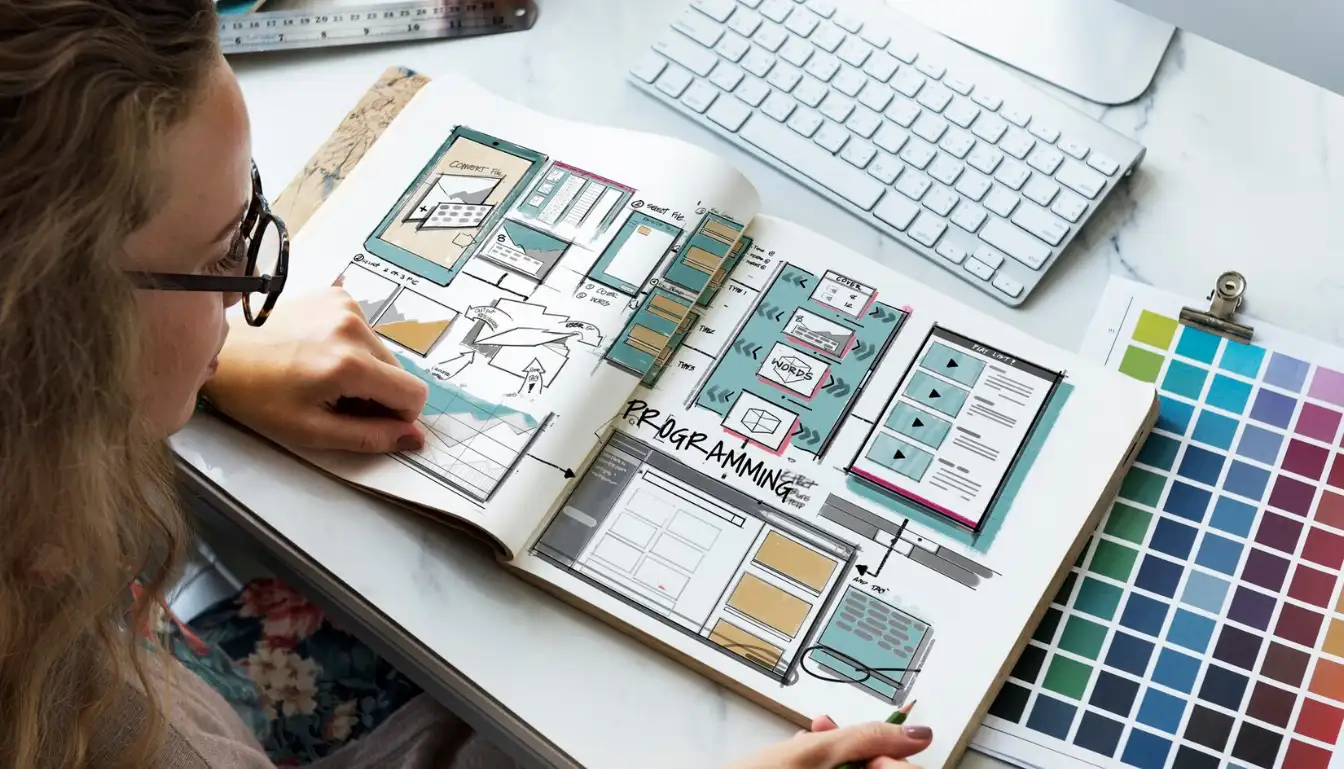
When the designers fully understand the user’s requirements and also when the objectives are clearly defined, concepts are made to sketch the layout. This step is often definitive as it acts as the working framework for most users. Here, one highlights the general structure and the way the site is arranged, the organization of the links, and the site’s components on the particular page. It makes certain that each characteristic of the design’s implementation will have a clear beneficial impact on the user.
This is the phase where designers pay a lot of attention to the different elements of the layout. Information architecture is vital as it discusses the methods used to organize, structure, and present information to the users. This aspect of design helps make it possible for the users to quickly locate documents, resources, or information that they require. The structure simply has to be understandable and pleasant to the eye so that the users can easily find their way through the material.
Convenience is a very important issue for end users as far as Web 2.0 applications are concerned. The design shall be intuitive and allow users; as well as individuals with disabilities, to be able to navigate and access the design intuitively. Microcopying or the bits of text that help users, for instance, labels for buttons, and even messages for wrong entries are also critical in improving the usability of applications.
This phase enacts a change from the UX design to the UI design phase. UX is more concerned with the general touch associated with the design while UI is more detailed. Designers start adding colour schemes, typeface, and iconography to the website. The particular colours selected can make people feel certain ways and improve their ability to read the text quickly; typography finds the tune and character of the design. This is true because iconography plays an instrumental role in conveying different actions and concepts with a lot of ease.
Thus, the end of this step sees the designers with a plan that outlines the functional outline and aesthetic appeal of the interface. It is used to inform the successive stages so that the result meets not only the elemental and practical criteria but also is graphic and appealing.
Step 7: Create Effective Wireframes and Prototypes
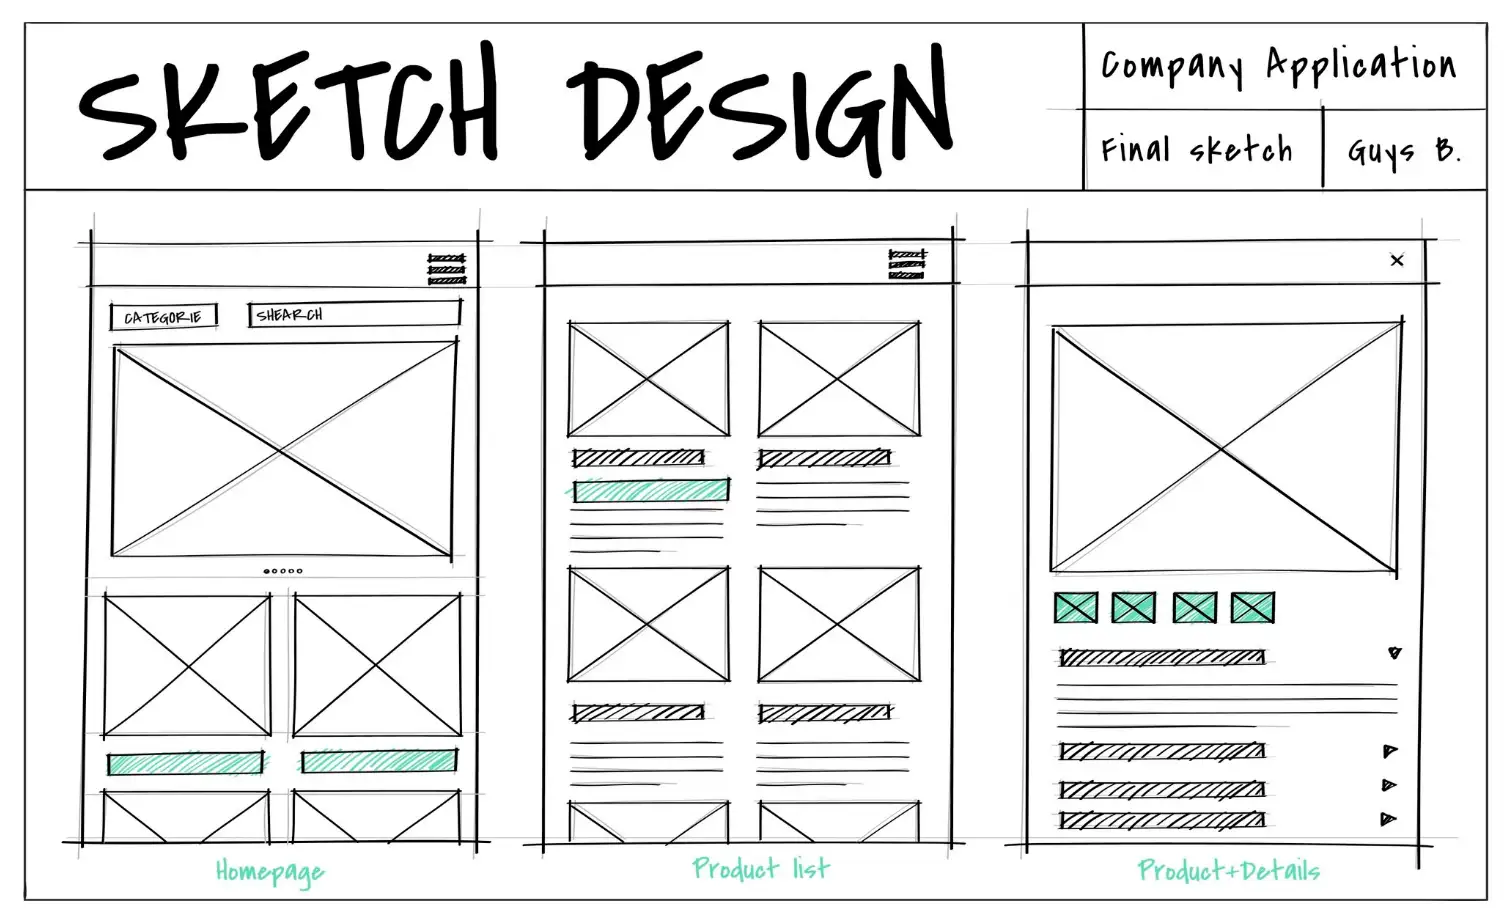
Wireframing and web page prototyping are important stages of UX design. It is the one that allows the final proof and demonstration of how the product in use will look and behave.
It is crucial to establish that wireframes are low-fidelity sketches of a product that describes the gross plan. Due to their simplicity, they mainly rely on the flow and the layout of a website, so you can avoid excluding numerous tiny visual details that nevertheless contribute to navigation mapping. Wireframes assist in envisioning the user’s path and guaranteeing that all the significant components are included and reasonably positioned.
In contrast, prototyping is the process in which an actual interface model is created with which the end-user has to interact as opposed to the paper mockup used in the stimulus method. Low-fidelity prototypes are usually simple and may take a shorter time to develop while the high-fidelity ones are more complex and very close to the final model.
However, while using these prototypes, real users should be involved. This is very useful because it reveals how the users engage with the design and where improvements may be needed. In cases like this, designers can get feedback on certain aspects of the design and determine any problems or sore points that are present before the development process is all but done.
Wireframes and prototypes are in between the concept and the final product that is to be developed. Wireframes are the first step as they concentrate on aspect and flow, while on the other hand, prototypes are actual representations of the design where issues can be tested and validated. This particular step takes care of the fact apart from meeting users’ expectations, the completed product should be easy to navigate.
Using tools like Whimsical and InVision, designers can enhance wireframe sketches and prototypes by simulating real interactions, providing a hands-on feel for the product's usability and design.
Step 8: Perform Comprehensive Usability Testing

However, being a final product, the development should see usability testing with real customers before the end product is released. This important step assists in discovering problems and boils down great suggestions or feedback that emanate from the user’s side regarding the functionality of the design as executed. Usability testing is the actual observation made by real users or their representatives in interacting with your product discovering difficult areas and pointing out the flaws.
To collect reliable and useful information, learn about such usability testing techniques as moderated testing, unmoderated testing, and A/B testing. Moderated testing is performed with the help of a moderator who assigns different tasks to the users and supervises them as well as asks additional questions related to a particular behavior. Moderate testing, in contrast, lets the users perform tasks freely in their pre-selected setting and may therefore offer more genuine results. A/B testing is a simpler method of comparing two versions of a product to understand how the users engage with it, giving a proper path for design.
Don't forget to use tools like Optimizely for your A/B testing.
Capture qualitative as well as quantitative data during these tests. The insights gathered by qualitative data, including comments and users’ behaviour concerning the service design, enable measurement of user satisfaction and emotional response. By gaining quantitative data consisting of such values as a task completion rate and time spent on a task, designers have useful guidelines for changes.
Gather this information and overshoot it to understand the potential problems that might plague the users as well as find out which aspects can be improved. These are some of the useful ideas and insights that could be employed to make changes and development on the product. The general objective of usability testing is to see how effective and user-friendly the completed product is to the user. Thus, strict and critical evaluation and iteration of the design can improve the overall usability and guarantee that the product will solve the users’ issues properly.
You'll love using tools like Userbrain, Loop11 and UserTesting to make user testing a breeze. These tools help you connect with users, gain insights into their needs, and gather valuable feedback.
Step 9: Prepare for Launch
When all the features of the system have been tested, and all the changes have been made to the low and medium-fidelity prototypes – it’s the turn of the high-fidelity UI to be presented to the development team. In this phase, the designing team must work hand in hand with the development team to ensure that the designing process easily transfers to development. Generally, the design team offers precise descriptions of artefacts, along with the necessary resources, to developers, who are responsible for the implementation of those components in the system. Like any project, communication is key to tackling any problems that may occur and keeping the final output as close as possible to the designer’s vision. This stage is important because it underlines a successful launch, thus all features of programs and interfaces work properly and the user experience is enhanced.
Step 10: Refine Through User Feedback

The UX design strategy does not end when the product is out in the market or has been launched in the market. It is a continuous process of enhancement, and the feedback obtained from your product’s users is vital to this process. So, after the start of the offer, you have to work on its perfection, taking into account constant feedback from users. This approaches a cycle that guarantees that one is delivering a product that is satisfactory to the ever-changing demands of the targeted customers.
Gathering user information can be done in various ways, such as user testing, questionnaires, or observing customer behaviour patterns toward the product. It's important to monitor how users interact with your site or app, and even better to listen to their likes, annoyances, and confusions. This feedback is valuable for making meaningful improvements.
After that, you should categorize the gathered feedback according to possible issues and opportunities for improvement. It is advisable to start this process by tackling the most important issues that affect user satisfaction as well as practical utility. Make the changes in phases so that you can track the effects of the changes and confirm the kind of impact that is needed.
Such an approach not only optimises the UX and its fulfilment but also preserves the app’s relevance amid competitors. In this way, in the process of constant updates and improvements, you show that for your users, their opinion is essential and you care about offering them the best. In the long run, the product that has been subjected to the factors received from the users will prove successful and closer to the customers’ needs.
Using tools like Hotjar can help you track your end-users mouse clicks, scrolls, and screen taps through heat maps and session recordings. It also provides surveys and contextual feedback tools.
Step 11: Bring Your UX Design to Life
Once you have defined and tested the concept, the next significant stage is to communicate it physiologically. This phase entails working hand in hand with the developers to ensure that you envision getting translated into the final physical product. This can only be facilitated by good collaboration and opening up of channels of communication. Begin by offering design requirements for the specifics, including standards, materials, and any other relevant papers. These are materials that will assist you in explaining your development vision to the developers and further guarantee that all parts and facets of the visualization are represented and developed correctly. Regular check-ins and meetings can help address any issues that arise and keep everyone on the same page.
Accepting feedback and therefore being quite flexible during this phase is also crucial. There may be things that only developers can see or admit that there are limitations, or propose something better to be implemented in the end product. Understand that this is not a one-time process and that you will have to fine-tune that process depending on certain conditions. Ideally, testing should be included as a continuous process in the implementation process. Have her conduct small usability tests to capture any problems at an early stage to be able to tell whether the design meets the intended operation. Such an approach can prove beneficial in that, instead of solving problems when they are large, time and energy can be spent to prevent such large problems from occurring. Therefore, it can be concluded that for the successful implementation of the project, the priorities must involve close communication, precise definition of the requirements, and the constant desire for cooperation and flexibility. Thus, the following steps will help you to organize and structure the process of bringing your UX design to life, which will ultimately lead to a final UX design that matches users’ requirements and expectations.
Ready to build your website? A powerful tool for AI web design like Wegic would be your ideal choice. You can create your ideal website effortlessly through simple conversations
Step 12: Continuously Monitor and Improve

The UX process does not end with the product being implemented for actual users. This means that the used strategy has to be permanently analyzed, and the information about users’ interactions, as well as the feedback received, has to be collected and examined to determine the spheres that require additional evolution. Implement KPIs with the use of analytics and survey the users often for usability issues. These practices will assist you in gaining useful information concerning users' use of your product. The continual optimization of the website guarantees that your product is easily navigated and of interest to the visitor. This could entail making slight changes when learning that users do not prefer the design or redesigning more when serious problems are found. Hence, it helps avoid guesswork when considering required changes based on how your product's users interact with it.
The success of an application or the perishable success of a product is thus guaranteed if the following 12 essential steps in the UX design process are followed. When you know your users well, define appropriate problems, set feasible goals, and follow the process of continuous design and red design, you can create a product that properly fits the users’ requirements and is also unique from the other products in the competitive market.
Remember, the cornerstone of successful UX design is continuous learning and improvement. Embrace feedback, stay adaptable, and always strive to enhance the user experience. This commitment to ongoing refinement will ensure that your product remains valuable and impactful over time.
Next Steps: Real-World Application
To learn more about the design UX process and apply it effectively, consider the following:
-
Bookmark this design UX process guide for easy reference.
-
Utilize prototyping tools with UI components that are supported by code to streamline your design process.
-
Prioritize user feedback and empathy to uphold a human-centred design approach.
Incorporating these practices will help you meet tight deadlines and release high-quality products that resonate with users.
For a seamless and no-code website design experience, consider Wegic. Wegic simplifies the UX design process through its intelligent and user-friendly platform, helping you easily create stunning websites. Get started with Wegic today and elevate your web design game!
Related reading:AI Website Maker for Your Writing Portfolio
Written by
Kimmy
Published on
Mar 17, 2026
Share article
Read more
Our latest blog
Webpages in a minute, powered by Wegic!
With Wegic, transform your needs into stunning, functional websites with advanced AI
Free trial with Wegic, build your site in a click!
What kind of website do you want to build?