ログイン
サイトを作成
2024年、無料でウェブサイトを作るには?
この6つの簡単なステップで、2024年に無料でウェブサイトを作成する方法を学びましょう。最適なプラットフォームを見つけ、テンプレートをカスタマイズし、Wegicを使って簡単にサイトを公開しましょう。初心者に最適です。

ようこそ
ウェブサイトを作りたいけれど、予算が限られている。 ウェブデザインの経験がなければ、ウェブサイトを作るのは難しく、圧倒されると思うかもしれません。
私も以前はそう思っていた。 デザインの経験もなく、予算も限られていたため、プロのデザイナーや開発者を雇うことは不可能に思えた。 しかし、いろいろ調べたり、AIツールを試したりしているうちに、ウェブサイトを作るのは思ったほど難しくないことに気づいた。 私は、あなた独自のウェブサイトを作るのに役立つ6つの簡単なステップにそれを分解した。
簡単すぎると思いますか? 大丈夫。 しかし、この記事を読み終える頃には、それが可能であることを確信していただけると思う。
6つのステップは以下の通り:
- 最初のステップ ウェブサイトプラットフォームの選択
- 第二ステップ テンプレートの選択
- 第3ステップ 必須ページを追加する
- 第4ステップ 基本設定の構成
- 第5ステップ ウェブサイトの見直しとテスト
- 6つのステップ ウェブサイトを公開する
たった6ステップでウェブサイトを作成する方法
最初のステップ ウェブサイト・プラットフォームの選択
最初のステップは、適切なウェブサイトプラットフォームを選択することです。 予算が限られているため、要件を満たす無料のウェブサイトビルダーを慎重に選択し、各オプションのさまざまな機能、価格、長所、短所を慎重に比較することが重要です。 幅広いカスタマイズオプションがあるプラットフォームが必要なのか、それとも視覚的にプロフェッショナルなウェブサイトで十分なのか。 ポートフォリオ用のウェブサイトを作りたいのか、製品やサービスを販売するオンラインストアを作りたいのか。 これはあなたの特定のニーズによって異なります。
用途の違いによって、どのウェブサイトビルダーが適しているかが大きく左右される。 人気のあるオプションには、Wix、Wegic、Frameri AI、Weeblyなどがあります。 これらのウェブサイトビルダーにはそれぞれ利点と限界があります。 この記事を読んで、それぞれの特徴と違いを比較し、より良い選択をするのに役立ててください。 その後、アカウントにサインアップし、無料トライアルから始めることができる。 ほとんどのプラットフォームは、基本的な機能を備えた無料プランを提供しています。

第二のステップ テンプレートを選ぶ
第二のステップは、気に入ったテンプレートを選ぶことです。 もちろん、より重要なのは、選んだテンプレートがあなたのブランドのポジショニングに沿ったものであることです。 ブログ、ポートフォリオ、ビジネスなど、あなたのウェブサイトの目的に合ったテンプレートを探すべきです。 Wixは900種類以上のテンプレートを提供しているので、どのような業種であっても、あなたのニーズに合ったテンプレートが見つかるでしょう。
特定のデザイン背景やクリエイティブなアイデアを持っている場合、テンプレートによっては制限を感じることがあります。 そのような場合は、テンプレートをカスタマイズするか、真っ白なキャンバスでゼロからデザインを作成するかを選択できます。 あなたのブランドや個人的なスタイルに合わせて、色、フォント、レイアウトを変更することができます。
また、WegicのようなAIウェブサイト・ビルダーを使うこともできる。 テンプレートを選択するステップを省き、あなたのウェブサイトのタイプに基づいたウェブサイトを直接生成することができます。 もし結果にご満足いただけない場合、Wegicは新しいものを再生成することもできますし、気に入らない要素を分析し、ご満足いただけるまでさらに修正することもできます。

第三ステップ 必須ページを追加する
次に、ホーム、会社概要、お問い合わせ、その他サイトに関連するページなど、必要なページを追加します。 ウェブページには多くの種類があり、ウェブサイトの目的に応じて選択することができます。 Wegicは複数ページのウェブサイトを作成することができます。
無料版では各ウェブサイトに3ページ、有料版では無制限のページが用意されています。 ウェブサイトの全体的なアウトラインとレイアウトが決まったら、コンテンツを詰め始めます。
テキスト、画像、動画など、コンテンツの充実がウェブサイトの質を大きく左右します。 これらの視覚的要素の選択は非常に重要であり、特に高品質の画像と動画が重要です。 効果的に使用すれば、オーディエンスに深い第一印象を残し、ブランド認知を強化することができる。 それだけでなく、検索エンジンのランキングを向上させることもできる。

第4ステップ 基本設定を行う
次に、多くの内容をカバーする基本設定を行う必要があります。
まず、あなたのブランドを表す明確で説明的なタイトルを選ぶことができます。 これは、オーディエンスや検索エンジンがあなたのウェブサイトが何についてのものかを知るのに役立ちます。
次に、覚えやすいURLを選びます。 ほとんどの無料ウェブサイト・ビルダーはサブドメインを提供しています)。 もし気に入れば、カスタムドメインへのアップグレードも検討できます。
訪問者が必要な情報を簡単に見つけられるよう、ウェブサイトには分かりやすいナビゲーションボタンを設置しましょう。
次に、SEOオプションやソーシャルメディアとの統合など、サイトの設定をカスタマイズしましょう。 WixやWegicなど、多くのウェブサイトビルダーにはSEOツールが組み込まれています。 訪問者があなたのプラットフォームをソーシャルメディアで共有しやすくし、読者を増やし、知名度を上げる共有ボタンを追加することもお忘れなく。
第5ステップ ウェブサイトのレビューとテスト
以上のステップを終えれば、あなたのウェブサイトが公開される日はそう遠くない。 しかし、そうであっても、ウェブサイトを見直し、テストする必要があります。 プレビュー機能を使えば、ウェブサイトがさまざまなデバイスでどのように見えるかを確認することができる。 ほとんどのウェブサイト・ビルダー・ツールにはそのような機能がある。
あなたのウェブサイトが異なるデバイスで見たときに正常でエレガントであることを確認し、特にモバイル対応性を確保する。 世界の検索トラフィックの80%近くがモバイルユーザーからのものであるため、Googleはウェブサイトがモバイルフレンドリーであるかどうかを非常に重視しており、ウェブサイトのランキングを決定する重要な理由の1つにもなっています。
一方、機能性のテストも必要だ。 あなたのサイトを見て、ナビゲーションメニュー、フッター、コンテンツ内のすべてのリンクをクリックし、すべてのリンクが正しいページにつながり、リンク切れがないことを確認することができます。 これは非常に重要なステップで、特にリンク切れがある場合は要注意です。 サイトのランキングを下げることになる。
一方、読み込み速度もチェックすべきです。 Tinypngのようなツールを使って画像を圧縮したり、大きなファイルを少なくすることで、スピードを改善することができます。

第6ステップ ウェブサイトを公開する
公開ボタンを押す前に、サイト全体の最終チェックを行いましょう。 すべてのコンテンツが正確であること、すべての画像が適切に配置されていること、目立つエラーがないことを確認してください。 サイトに問題がなければ、公開ボタンを押してウェブ上で公開します。 おめでとうございます!視覚的にプロフェッショナルなウェブサイトが出来上がりました。 そんなに難しくなかったでしょう? さあ、新しいウェブサイトをソーシャルメディアやその他のチャンネルで共有し、訪問者を集めましょう。
ウェブサイトを公開して終わりではありません。 ウェブサイトのパフォーマンスをテストし、ウェブサイトのトラフィックを分析するなど、やるべきことはまだたくさんあります。 例えば、どのチャンネルがより多くのトラフィックを集めるのに役立つかを理解すれば、マーケティング戦略を調整し、ウェブサイトのコンテンツを最適化し、知名度を向上させることができます。 Google AnalyticsやSerpstatのようなツールを使うことができます。 これらは強力なツールであり、詳細な統計レポートを提供してくれる。
以上のステップを一歩一歩踏んでいけば、特にAIツールの助けを借りれば、ウェブサイトの作成は想像以上に簡単であることがわかるだろう。 資金に限りがある場合は、より多くの無料ウェブサイトビルダーを探索し、これらのリソースを最大限に活用することができます。

Wegicで無料でウェブサイトを作るには?
ここでは、私が個人的に使用したことのあるソフトウェア-Wegicをお勧めしたいと思います。 私はこのソフトウェアを使っていくつかのウェブサイトを作成し、その結果は印象的なものでした。
市場には、Wix ADIやFramer AIなど、同じような 無料のAIウェブサイトビルダーがたくさんあります。 これらのツールはかなり成熟しているが、私がWegicを勧める理由は、非常に柔軟で、多くのカスタマイズオプションを提供してくれるからである。 Wixのカスタマイズオプションはやや限られていますし、Framerは多くの高度なニーズに応えることができますが、プロのデザイナーにより適しています。
価格、機能などを比較した結果、Wegicは総合的なパフォーマンスに優れていると思います。 価格もそれほど高くなく、学習曲線も険しくない。 使い方は簡単だ。 デザイン経験もウェブサイト構築の基礎もない私のような者でも、驚くほど利用しやすく、さまざまなカスタマイズのニーズに応えてくれる。
各ユーザーは毎月70クレジットを無料で入手でき、ウェブサイトを構築するのにかかるコストはわずか40クレジットです。 私はブログのウェブサイトを作るために使った。 全体のデザインを完成させ、レイアウトを調整し、写真やテキストを変更し、最後に推敲して公開するのに、1時間もかかりませんでした。 最終的な仕上がりもとても素晴らしく、満足のいくものでした。
プロセスは簡単だった。まず、Wegicにブログのウェブサイトを作る必要があることを伝え、あらかじめ考えておいたウェブサイト名を伝え、ウェブサイト言語は英語を選択した。 クリックするだけで、私のウェブサイトができあがった。

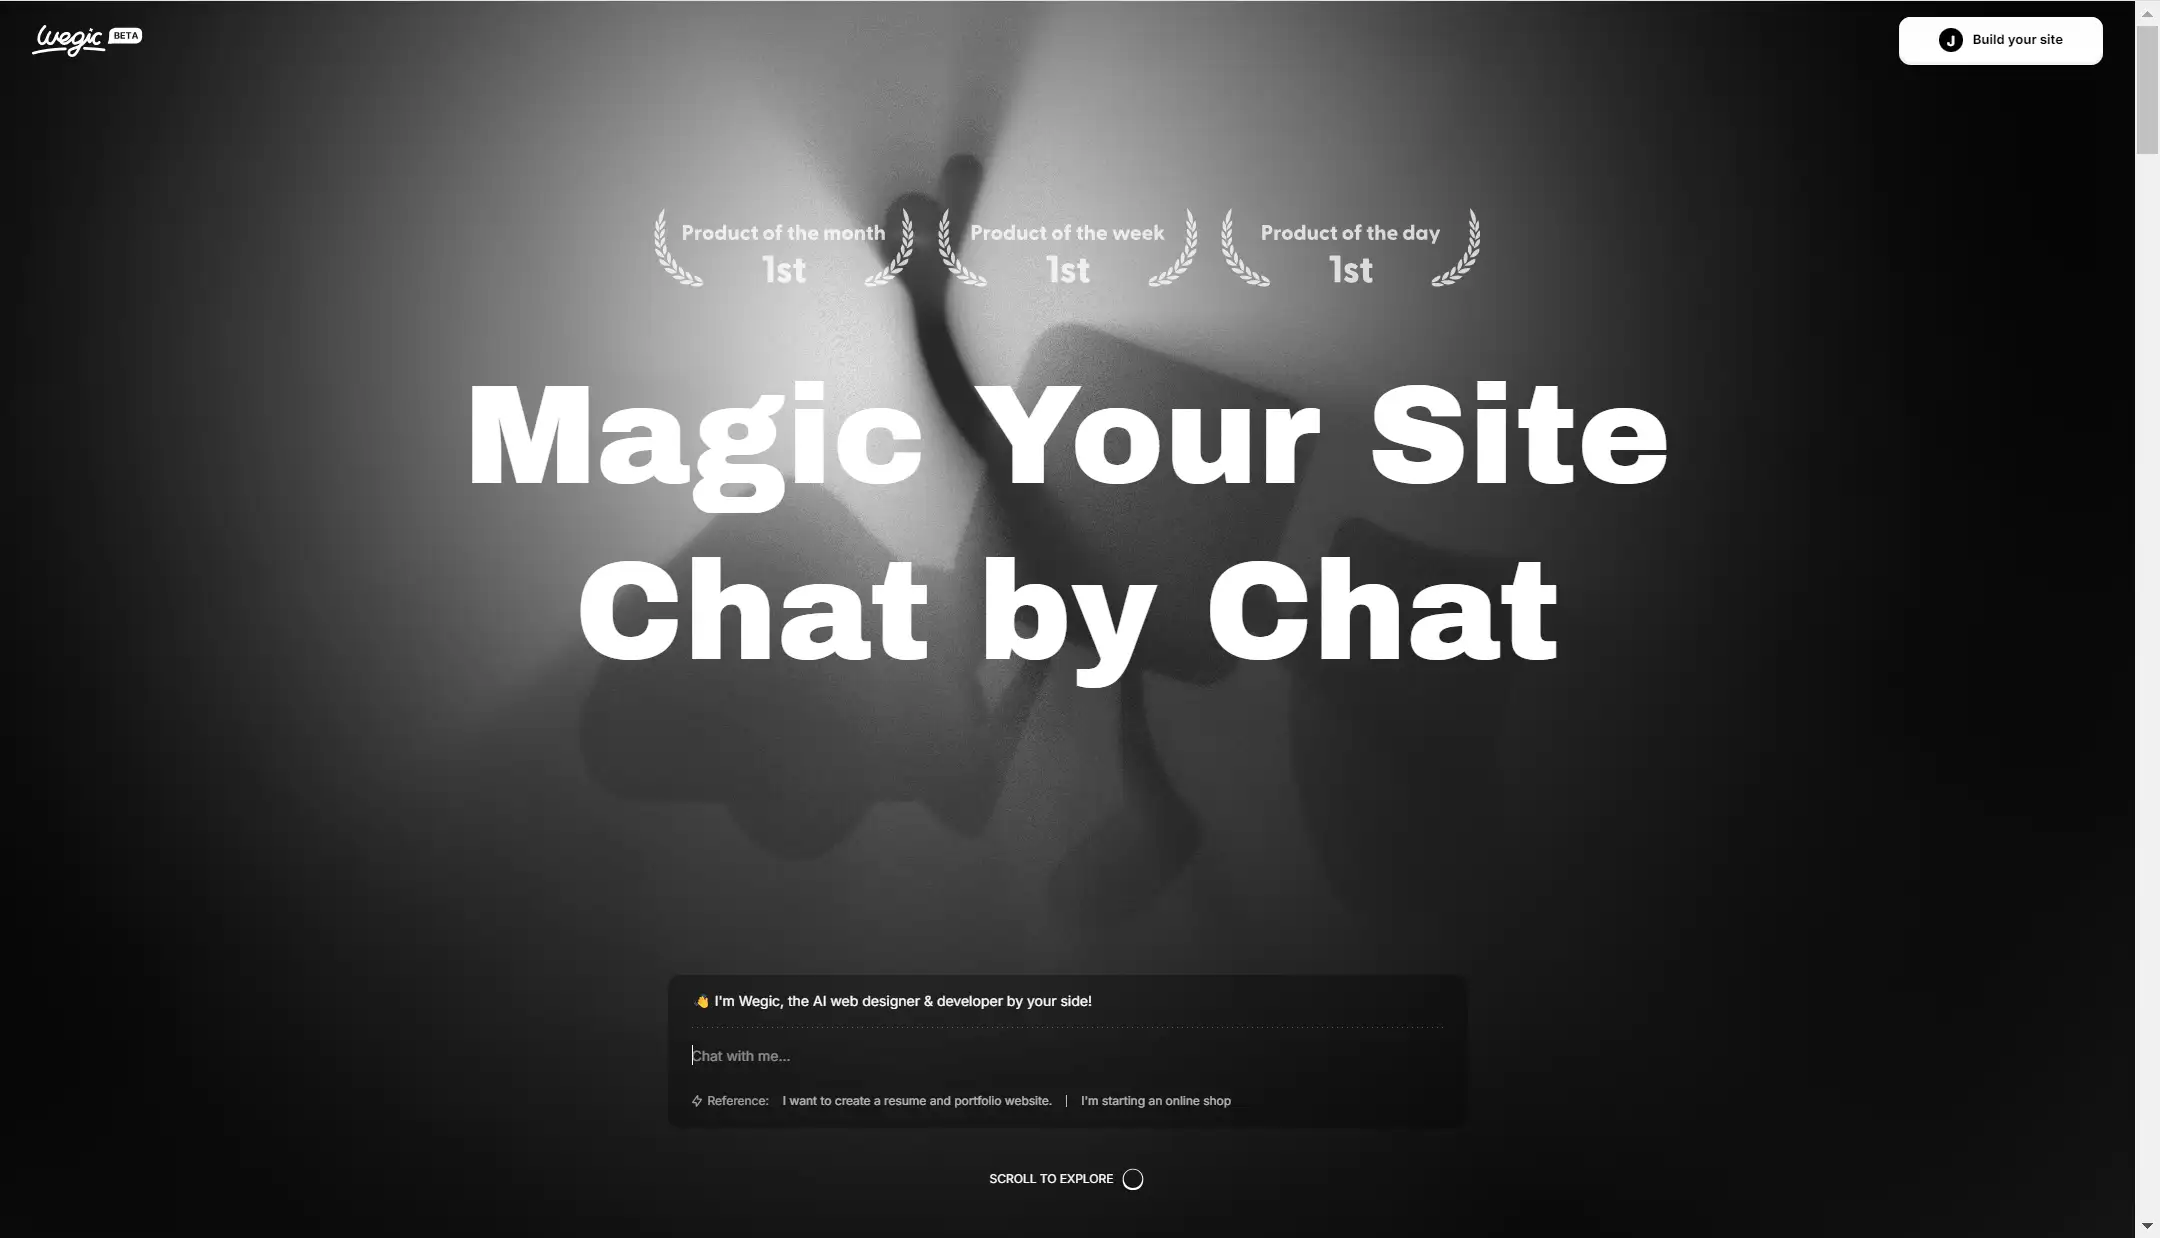
もちろん、他の言語を選ぶこともできる。 日本語、英語、フランス語、スペイン 語の多言語に対応しており、必要な分だけ作ることができます。 Wegicは会話型のアプローチを採用しており、チャットボックスにあなたのニーズを入力するだけで、提供された情報に基づいてあなたが望む結果を生成することができます。
ブランド名やテキストの内容など、特定の詳細について不明な点があれば、Wegicはインテリジェントな提案をしてくれます。

私のために、ホームページ、会社概要ページ、お問い合わせページなど、複数ページのウェブサイトを作成してくれました。 その時のウェブサイトの構成とレイアウトにはかなり満足しています。 もし仕上がりにご満足いただけない場合は、憧れの素晴らしいウェブサイトの参考画像をアップロードしていただければ、Wegicが参考画像のレイアウトに沿って修正いたします。

次に、このウェブサイトをさらに洗練させることに集中した。 写真サイトの構築に関するブログを書いたので、多くの写真をポートフォリオに差し替えた。 写真のアップロードはとても便利です。 好きな写真を選ぶか、ギャラリーから好きな写真を探すか、Wegicに新しい写真を生成させることができます。 一回生成するのに5クレジットかかります。 もし写真に満足できなかったら、オンラインでもっと質の高い素材を探すことをお勧めします。 ここで2つの便利なウェブサイトを紹介しよう-----oksuroとNeurascapesこのウェブサイトには無料で高品質な写真がたくさんある。

写真だけでなく、ビデオをアップロードすることもできます。 ビデオのリンクをチャットボックスにコピーし、どのセクションにビデオを置きたいかをWegicに伝えるだけです。 数秒後、あなたのウェブサイトが非常に優れたダイナミックエフェクトを持つことがわかります。

ここで、非常に便利な動画素材サイト-Pexelsもお勧めします。 これらの無料素材サイトは、私のウェブサイトを作るコストを大幅に削減します。 これは私自身の写真個人コレクションサイトの効果である。

Wegicには他にも、ソーシャルメディアとの統合、SEOツール、アニメーション効果、SSL証明書、カスタムドメインなど、様々な機能が含まれています。 手順は同様です-チャットボックスに要件を入力するか、ウェブページ上で直接編集するだけで、あとはWegicが処理します。 ChatGPT 4oが内蔵されているため、あなたのニーズをすべて理解し、Wegicが技術的な詳細を処理する間、あなたは創造性に集中することができます。 すべてが完璧になったら、公開をクリックするだけで、あなたのサイトは公開されます。
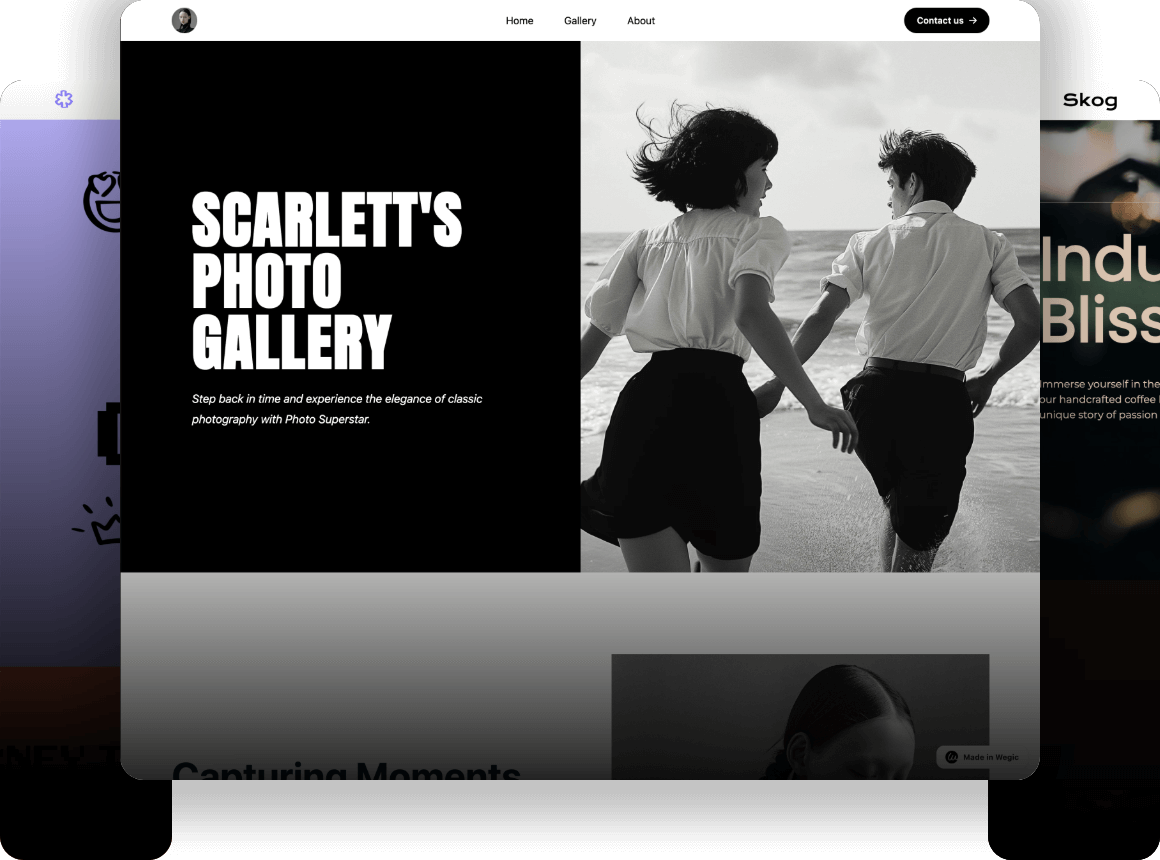
以下はWegicで作成した例です。


Pro Tips:Wegicで作成したウェブサイトを他のプラットフォームで共有したり、新しいユーザーを招待すると、少なくとも500クレジットを無料で獲得できます。 魅力的でしょう? 費用対効果の高いツールなので、試してみる価値はある!
まとめ
この記事では、無料でウェブサイトを作るための簡単なステップをいくつか紹介した。 WegicのようなAIを駆使したウェブサイト・ビルダーが進化したおかげで、2024年に無料でウェブサイトを作成するのはかつてないほど簡単になった。 以下の6つの簡単なステップに従うだけで、アイデアから本番のウェブサイトまであっという間に作ることができる。
あなたが中小企業の経営者であれ、フリーランサーであれ、あるいは単にオンラインで情熱を分かち合いたい人であれ、これらのツールを使えば、コストや技術的な専門知識がなくても、プロ並みのサイトを作ることができる。 ぜひ試してみてください!
よくある質問
1.無料でプロフェッショナルなウェブサイトを作成できますか?
はい、多くのウェブサイトビルダーは無料プランを提供しています。 これはあなたがお金をかけずにプロフェッショナルな外観のウェブサイトを作成することができます。 大抵の場合、テンプレート、ホスティング、カスタマイズオプションなどの基本的な機能が含まれている。 しかし、カスタムドメインやeコマース機能のような高度な機能は、多くの場合、有料プランが必要です。
2.無料ホームページ・ビルダーを使用することの制限は何ですか?
無料プランの中には、ウェブサイト上に広告が表示されるものもあり、閲覧者がウェブサイトを閲覧する際の全体的なユーザーエクスペリエンスに悪影響を及ぼす可能性があります。 また、ウェブサイトによっては、ウェブサイトビルダーのブランディングが表示される場合があります。
3. Wegicのテンプレートをカスタマイズ できますか?
はい、Wegicではあなたのブランドや個人的なスタイルに合わせてテンプレートをカスタマイズすることができます。 Wegicが生成した結果がご期待に添えない場合は、レイアウト、色、フォント、その他のデザイン要素をご満足いただけるまで調整し、修正することができます。
著者
Kimmy
投稿日
Oct 31, 2024
記事を共有
続きを読む
最新のブログ
Wegicで一分でウェブページを!
Wegicを使用して、先進的なAIであなたのニーズを見事で機能的なウェブサイトに変えましょう。
Wegicで無料トライアル、一クリックでサイトを構築!