OpenAI's GPT capabilities have revolutionized the way we interact with AI. From the original ChatGPT to the freedom to create and customize GPT today, AI is becoming increasingly personalized. You can use ChatGPT to create own GPT publish on your website. In the past, building an intelligent conversational bot often required some programming skills, but now, even users with zero code experience can easily customize ChatGPT as a personal assistant, business tool, or even a fun little helper.
Imagine having
an AI assistant that can not only answer your questions but also personalize them to your needs - whether it's helping you learn new skills, plan trips, answer professional questions, or streamline workflows, the uses of a custom GPT are almost limitless. Even OpenAI, as a
GPT builder, allows users to publish their GPT creations directly to the GPT store, share them with more people, and possibly even profit from them. This means that your creative ideas can increase your productivity, help more people, and even become a side business.
How do I create my GPT from scratch? How does it work? How can I make it more innovative and more practical? If you want your own AI assistant, this guide is for you. In a few simple steps, we will show you how to create, optimize, and publish your GPT online. Whether you aim to increase productivity or create an innovative AI solution, there's never been a better time to get started!
What is GPT?
In short, GPT is a custom ChatGPT built by OpenAI users. It is a GPT builder. You don't need to write any code; tell the GPT builder in plain language what you want to create, and it will help you with the setup. Moreover, GPT can not only have intelligent conversations but also browse the web, generate images using DALL-E 3, and even execute code, making the application of AI more extensive and powerful.
However, there is a bit of confusion here—"GPT" actually has another meaning. It stands for Generative Pre-trained Transformer, which refers to a family of AI models developed by OpenAI. "Custom GPT is a personalized chatbot created based on those models. Although the name is the same, it refers to slightly different content. In this article, we are talking about GPT, which mainly refers to the chat AI that users can customize.
What is Custom GPT?
Custom GPT is a personalized chatbot built on OpenAI's powerful AI technology that can understand and generate human-like text to meet specific needs. By customizing the model's instructions, adding knowledge bases, and setting features, you can make it better suited for particular tasks, such as:
-
Provide personalized customer service
-
Acting as a personal assistant to help manage schedules and tasks
-
Generating creative content such as articles, social media posts, etc.
-
Performing more complex calculations and data analysis
Compared to the generic ChatGPT, the GPT allows AI to be more tailored to the needs of individuals or businesses, enabling it to perform specific tasks more efficiently. In the following guide, we will take you step-by-step through creating, optimizing, and finally publishing your GPT so that AI can become your intelligent assistant. You can use ChatGPT to create your own GPT that will be published on your website!
Image by Canva
Pros and Cons of OpenAI Custom GPT
Understanding OpenAI's advantages and disadvantages can help you better assess whether it is right for your needs before deciding whether to use it.
Advantages
Custom GPT is based on OpenAI's advanced GPT-3.5 and GPT-4 models, which use robust natural language processing capabilities to understand complex instructions and generate high-quality text.
OpenAI provides an intuitive interface that makes it easy for users to set up and manage their own custom GPT without any programming experience. Just describe the requirements in simple language; the GPT builder can help you set them up.
Custom GPT is suitable for projects of all sizes, from personal assistants and content creation to enterprise-class AI solutions for increased efficiency.
You can directly upload documents, materials, and other knowledge files so that GPT can refer to them when answering questions without manually entering all the information, improving intelligence.
You can create multiple
GPTs to handle different tasks, such as one GPT for customer support and another for writing marketing content, and switch between them anytime
You can share your customized GPT with team members or publish it to the GPT store so that more people can use it and profit from it.
Shortcoming
Compared to third-party solutions such as CustomGPT.ai, the OpenAI platform is less flexible in terms of fine-tuning and data integration and cannot customize model behaviour as profoundly as some enterprise-class AI solutions.
OpenAI's model training and data processing processes may not meet the privacy and compliance needs of all organizations, especially in industries involving sensitive data (e.g., healthcare, finance).
OpenAI uses a subscription and pay-as-you-go model, which can be costly for large enterprises or businesses with high call volumes and unsuitable for small companies or individual projects with limited budgets.
While OpenAI still has some limitations as a GPT builder, it provides an easy and efficient way for users to build AI bots that fit their needs quickly. Next, we'll dive deeper into how to use ChatGPT to create your own GPT and publish it on your website!
Image by Canva
How to use ChatGPT to create your own GPT and publish it on your website?
Step 1: Accessing the GPT build tool
Before you can start building a GPT, you must first access the GPT build tool provided by OpenAI. This tool allows you to easily configure the GPT's behavior, upload the knowledge base, and adjust various parameters of the model to better tailor the AI to your needs. The whole process requires no code to be written and is very intuitive to use. How do I access the GPT builder?
1. Go to OpenAI's ChatGPT page
Open ChatGPT in your browser and click on "Try ChatGPT." If you don't already have an OpenAI account, you must register or log in first.
2. Go to the GPT creation tool
Once logged in, navigate to the GPT builder located in the ChatGPT interface. Once clicked, you'll be taken to an intuitive interface where you can customize your AI assistant.
3. Learn some basic information about GPT
Before formal creation, it is recommended that you review the GPT Builder Introduction to understand its training methods, limitations, and different application scenarios and to define GPT's purpose better and use.
Once you have done this, you can start building your custom GPT!
Step 2: Defining the Purpose and Functionality of the GPT
Defining its purpose and functionality is critical when using GPT Builder to create a GPT. This not only determines its core competencies but also affects how it is presented, such as how it answers questions, the tone it uses, and the intended audience.
Define the core mission of the GPT
First, you need to answer the following question: What is the primary purpose of this GPT? Different GPTs can perform different tasks, such as:
Customer support:
Help answer common customer questions and improve service efficiency.
Content creation:
Writing articles, social media copy, or marketing materials.
Learning Assistant:
Provide domain-specific knowledge such as programming, history, language learning, etc.
Business and productivity tools:
Help manage schedules, handle emails, summarize meeting minutes, etc.
Step 3: Set the tone and style for GPT
Different tasks require different ways of communicating, so the tone of the GPT should be consistent with your brand or personal style. For example:
-
Professional and formal (applicable to legal, medical, management consulting, and other fields)
-
Light and friendly (for education, customer service, personal assistants, etc.)
-
Humorous (for entertainment, social media interactions, etc.)
-
Direct and straightforward (for efficient tools like data analysis and code generation)
You can explicitly specify this tone in your GPT settings, such as "Please use a professional, formal tone when answering user questions" or "Please explain technical concepts in a light-hearted and humorous way."
Image by Canva
Step 4: Set GPT Limits and Rules
To ensure that GPT responses meet your expectations, you can also set some limits and rules, such as
-
Avoid responding to sensitive or illegal content
-
Do not provide unverified information
-
In some cases, GPT asks the user if they need further assistance
These rules can help GPT provide more accurate and controlled answers in specific scenarios.
Step 5: Train your GPT with specific instructions
If you want to use ChatGPT to create your own GPT publish on your website, you need to give it specific instructions to understand how to respond to user questions. This step mainly involves:
Organize training data:
GPT's ability to learn depends on the instructions you provide, so you need to prepare some examples and data to ensure it performs well in various scenarios. You can:
Upload a knowledge file:
Suppose your GPT needs to refer to specific information (such as company manuals, product manuals, industry specifications, etc.). In that case, you can upload the relevant documents directly and have it refer to them when answering questions.
Provide a sample dialog:
If you want the GPT to answer questions a certain way, enter a sample dialog and make sure it follows your style and format.
Cover different scenarios:
Consider the types of questions users might ask and provide guidance for each.
Fine-tune:
If you want to further optimize GPT's performance, you can use GPT Builder's fine-tuning API to fine-tune its behavior. However, fine-tuning requires a certain technical background and is suitable for more advanced application scenarios, such as training GPT to handle professional conversations in specific industries.
Step 6: Customize the appearance and name of the GPT
To make your GPT more recognizable, you can customize its name and appearance to complete the user experience.
-
Choose a unique name
-
The name of the GPT should communicate its function.
-
Personalize the appearance of the GPT
-
If you plan to embed GPT into your website or application, you can
-
-
Add an avatar or brand logo to help users identify your GPT.
Step 7: Test and Refine Your Custom GPT
Once the GPT configuration is complete, you must perform appropriate testing to ensure it works appropriately in real-world scenarios. Right now, you can start to use ChatGPT to create your own GPT and publish it on your website!
Step 8: Publish and distribute your GPT
When you are satisfied with the performance of your GPT, you can officially publish it and make it work for you or your users.
Select a publishing mode
Embed in a website or application
OpenAI allows you to embed your GPT into your platform so users can use it directly.
Share with a team or client
If you are an enterprise user, you can share GPT with colleagues or customers so they can use it in specific circumstances.
Submit to the GPT Store (if OpenAI allows it):
You can publish your custom GPT to the OpenAI ecosystem, allowing more people to experience your AI.
Conclusion
With this guide, you have mastered the entire process of using ChatGPT to create your own GPT published on your website. From figuring out the purpose of GPT through training, optimization, and publishing, you can now build an AI assistant that meets your needs, whether it's for customer support, content creation, or personalization. You can also use
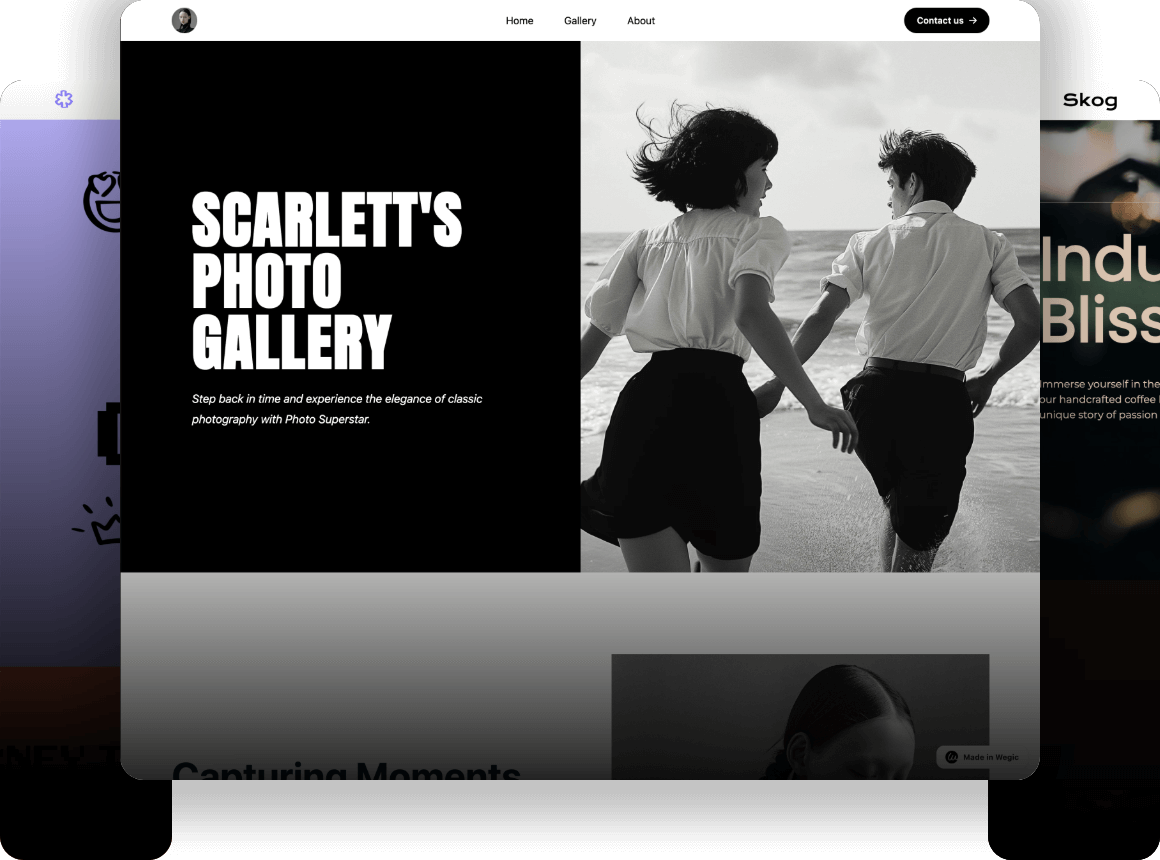
Wegic to create your website through AI and use GPT to add to the website to optimize the user experience.
Using Wegic and GPT can help you be successful in the future!Click the picture here to find out Wegic's best practices! ⬇️
https://wegic.ai/best-practices
Custom GPT improves productivity and helps companies and individuals expand their opportunities. If you're still hesitating, try it yourself and let AI add value to your business or everyday tasks! As AI technology continues to evolve, the application scenarios for GPT will only expand. Start exploring now, let AI enhance your creativity and productivity, and build your intelligent assistant! I hope you can use these tools to help your business be successful in the future!